
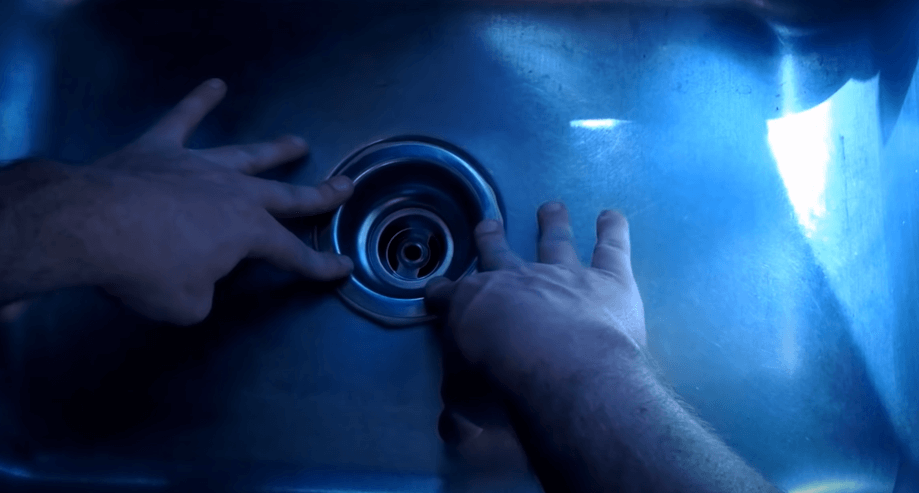
Food particles are caught in the sink's stainer, which also serves as a filter between the sink and the pipes to prevent clogging. The basin or the strainer may get damaged or stained with time, requiring replacement or removal and re-installation.
Keep reading if you need assistance removing or replacing the strainer in your kitchen sink.
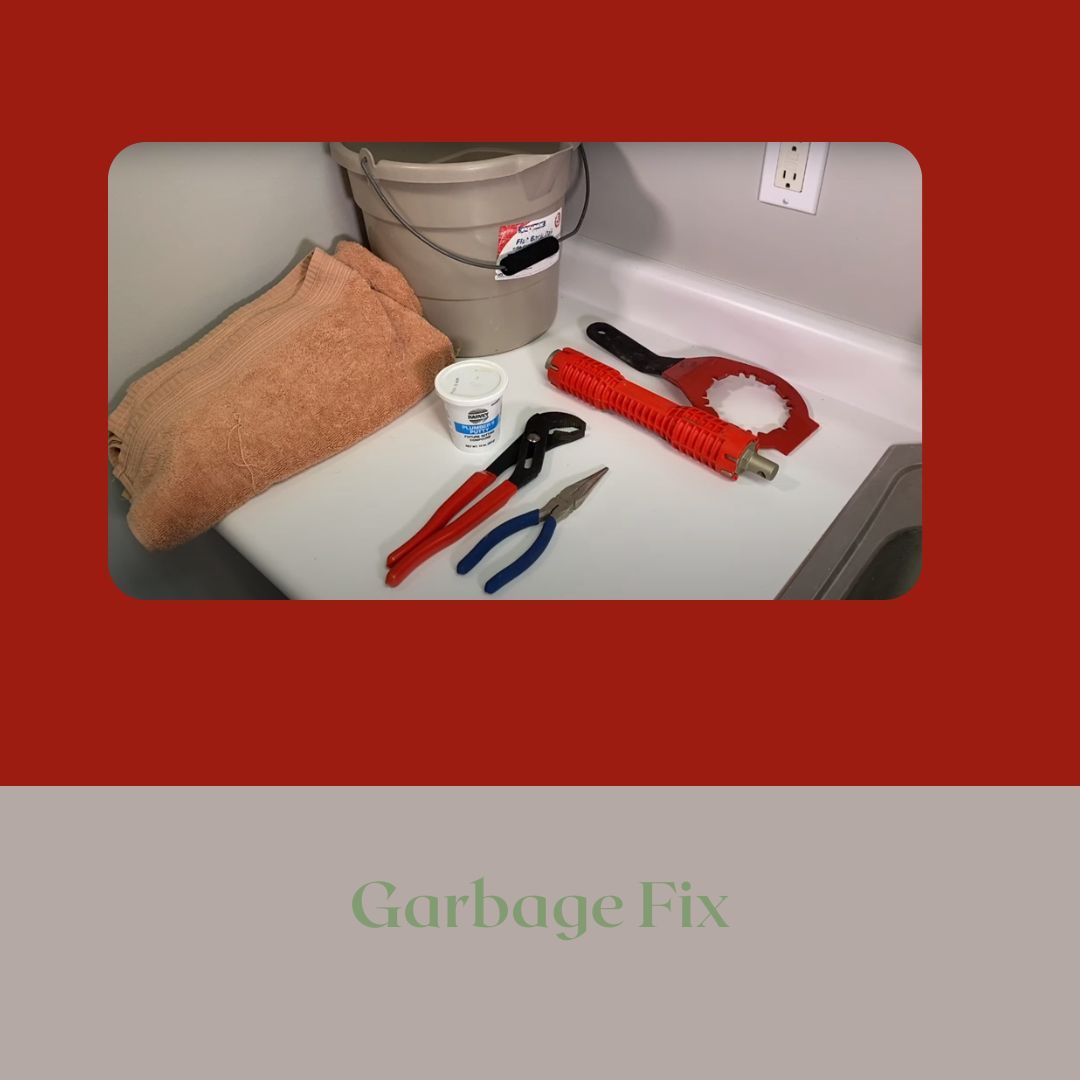
How To Remove Kitchen Sink Strainer - A Complete Guide
Stop The Flow Of Water
The cutoff valve on the sink can switch off the water supply to the wash basin. If the sink component you're repairing does not involve water pipes, you may skip this step. Even a novice plumber must are instructed to know how and when to use the shut-off controls. Even if you mistakenly turn on the water while working, this precaution will save you from spoiling your efforts.
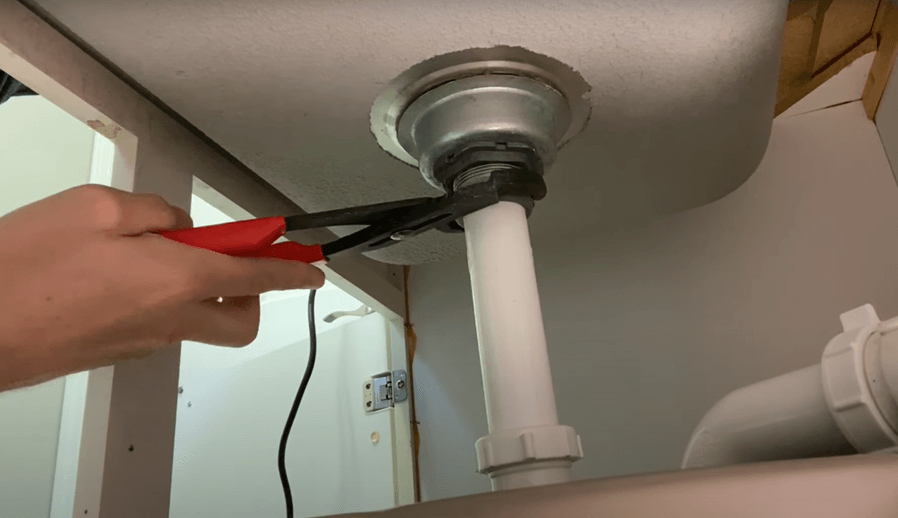
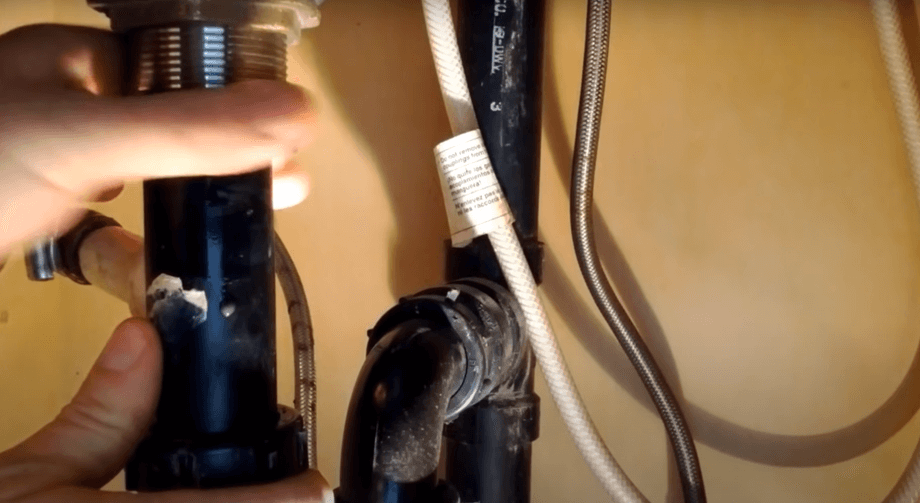
Loosen The Tailpiece Drain Pipes
A connecting ring joins p-traps and tailpieces from drain pipes. Attach a preferred wrench with this connection and release it by rotating the wrench. After loosening the connector's stronghold with the wrench, you may release it off the tailpiece with your hand.
Some nozzles' end caps contain threads designed to engage with those of the sink drainage filter, securing the end cap in place. The tailpiece is detached from the drainage strainer by unscrewing it in a circular direction.
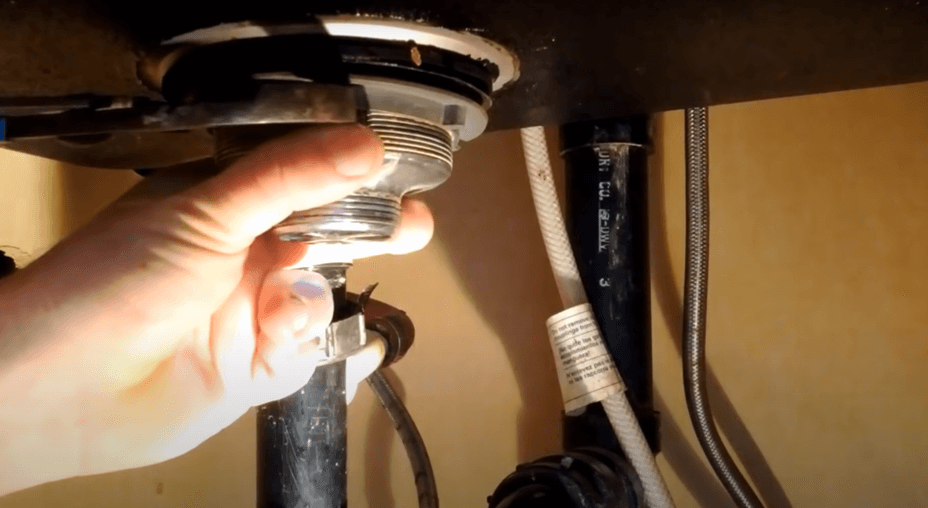
Turn The Lock Nut Off The Drain In The Sink
The sink strainer is secured beneath the sink with a locking nut, often called a basket nut.
The sink drain should not leak if this nut is sufficiently tightened and the sealant elements, such as the plumber's putty and rubber gaskets, are in excellent condition. Therefore, if the sink drains leak, it might be due to a failure of one of the sealant elements or a loose lock nut.
Utilize Oil In Your Work
Since the lock nut is constructed of metal, it is unlikely to rust in a wet environment like the wash basin. If you find removing a rusted lock nut difficult, you may weaken the lock by dripping just enough penetrating oil. Before twisting the nut with a wrench, give the threads time to absorb the oil. To save time, we advise you to coat the lock nut with penetrating oil one night before.
Removing The Strainer
You may remove the strainer from your sink by removing the lock nut, the frictional protector, and the rubber gasket that covers the drain opening. If the plumber's putty has dried out, you may need to give it a movement from below the sink to get it to separate. Do not use excessive force, as this might cause the sink basin to get pushed off the surface.
Clean The Old Strainer Hole
The strainer's opening will likely get soiled with bits of dried putty and grime. Get rid of the old basket strainer, then make room for the fresh one by scraping the putty out of the holes using a putty knife. Then afterward, wash and dry the area
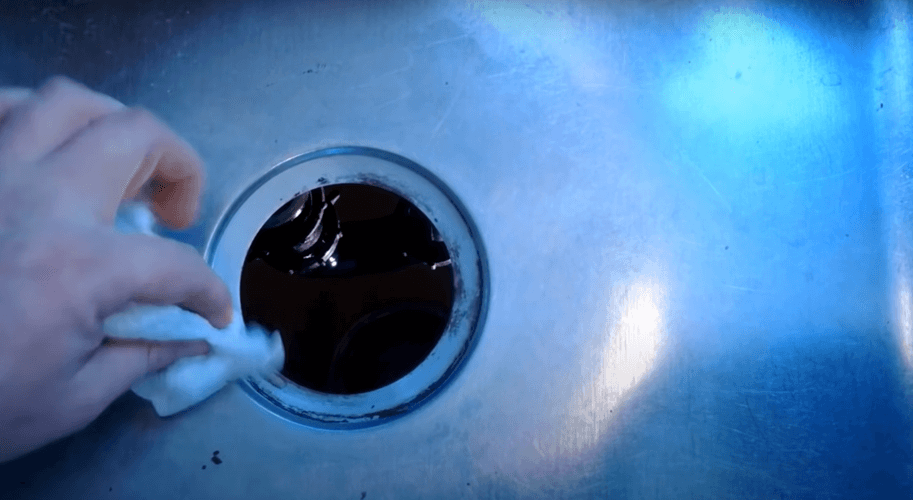
Get The Sink Strainer And Drain Ready
Before putting in the replacement strainer, make sure the area surrounding the drain is tidy. The previous strainer may have accumulated much gunk, but it ought to be easy to scrub clean.
Disconnect the components of the strainer and lay them out where you can easily access them. It's time to remove the retainer's screws.
Put On Some Plumber's Putty
Extensively extend a thread of plumber's putty to an even thickness. To use a strainer, wrap the cord over the strainer's lip. Carefully insert the strainer inside the sink's drain hole, making it centered and aligned properly. The sink putty will need only a little pressure to stick to the surface.
Put The New Drain Strainer In Place
Start at the bottom and make your way up the sink and to the strainer body, where you must insert both the flexible washer and the metal washer. Keep them from moving around. Before tightening the screws, it is advised to screw the retainer on.
TIP: To see if a sink leaks, you must fill it with water and stop the drain. When much water has been let out to raise the pressure, leaks may be easier to spot. You could try removing the washer and putty over the metal washer if it comes off.
Reasons For The Dripping Faucet In The Kitchen?
There is usually more than one reason why a sink leaks. Most of the time, the following things can cause a sink to leak:
When the plumber's putty that should seal a joint around it is too thin, water might leak through.
Even if it takes a while, putty does dry out. It dries out and breaks down because it is brittle and can't expand or contract normally. Surface cracks and breaks are now easy to see.
If the drain is broken, even though stainless steel drains don't rust or corrode for a long time, they don't last forever. You might need a new sink basket or drain for your sink one day.
What Are Some Common Types Of Basket Strainers?
The strainer basket might catch big things that might end up in the sink. The leak could be coming from the strainer, but how to fix it would depend on what kind of strainer you have.
These are some common strainer shapes:
Today, you can find a locknut strainer in many kitchens. From the outside, this pattern looks like a ring is wrapped around the threads. If there is any possibility of water leaking between the strainer and the head, the rubber washer will close the gap.
Locknuts and screws are used to connect the strainer plates to the threads. The plate is attached to the sink with three or four screws.
Strainer with a round washer: The strainer is completely wrapped in this style. You only need a single nut to connect the basket strainer to its housing.
Conclusion
A leaking kitchen sink drain is not something one should tolerate. You could try, but you'll quickly become tired of searching around under your sink for water dishes.
The sink strainer replacement is necessary in such cases. The article has discussed and shown a fantastic approach to resolving the issue with minimum effort.