Garbage disposal is a must-have for every modern kitchen these days. Even if you ensure that all your dishes and utensils are clean, there are still bits of food and grease which end up going down the sink drain.
If you have a garbage disposal system, it will ensure that the waste food going down in the drain is ground up finely, and there is no obstruction in your kitchen pipes, and they run smoothly.
For someone who doesn’t own one yet, the first question coming up to their mind is how to install a garbage disposal for the first time?

This guide will provide you all the details to help you through the process. An average garbage disposal system will be your mate for at least 10-12 years; the feature may still need replacement eventually.
What garbage disposal type do I need?
Certain factors must be remembered when buying a new garbage disposal unit. The first element is the type of plumbing facility you have at your home, and who will be using the system primarily.
There is also a choice between a noise-free or noisy garbage disposal system, depending on your preferences.
If you have kids at your home who will also use the system, the batch feed disposal system is a good pick for you instead of a continuous feed one.
The batch feed variant is more expensive than the latter, but it is safer for households with children. The latter option keeps running until it is shut off by someone manually, and in case a kitchen utensil drops in the sink and one reaches out to pick it up – it can be a hazardous scenario.
The right motor type is another important factor. You require a motor with higher house power if you have a big household.
Typically a ½ horsepower motor works well for prominent families, and a 1/3 horsepower one is suitable for smaller homes.
Certain essential features in the garbage disposal system should be considered, which are necessary for you. There are options for a noise-free one, one which connects to the dishwasher or is made of stainless steel, and much more.
Install a garbage disposal unit for the first time
1. Wiring:
Some garbage disposal units have tubing attached to it already, while some do not. If your unit does not have wires attached, the cover plate under the garbage disposal system must be removed, and cables should be assigned according to the instructions mentioned on the box.
In most units, white wires are required to be connected to the white leads black wires to black leads, and ensure that the cover plate is screwed back.
2. Install drain flange and mounting ring
Roll some plumber’s putty between your hands and form a snake with a thickness of around ½ inch and 10 inches long.
Apply this to the drain flange’s underside now, insert the flange to the drain hole and push it down to attach it appropriately.
Now snap on the fiber gasket, mounting ring, and backup ring.
When working below the sink, a screwdriver should be used to screw the mounting ring against the sink tightly.
This can be done more efficiently by screwing one screw and switching to others, to make the mounting rings even tighter.
Once the installation for this is done, a knife shall be used to trim the plumber’s putty, which may be squeezed out from the flange.
3. Mounting the garbage disposal
The actual installation of the unit takes place in this step. You must remain very cautious as it may become cumbersome, and you may end up straining yourself if not done carefully.
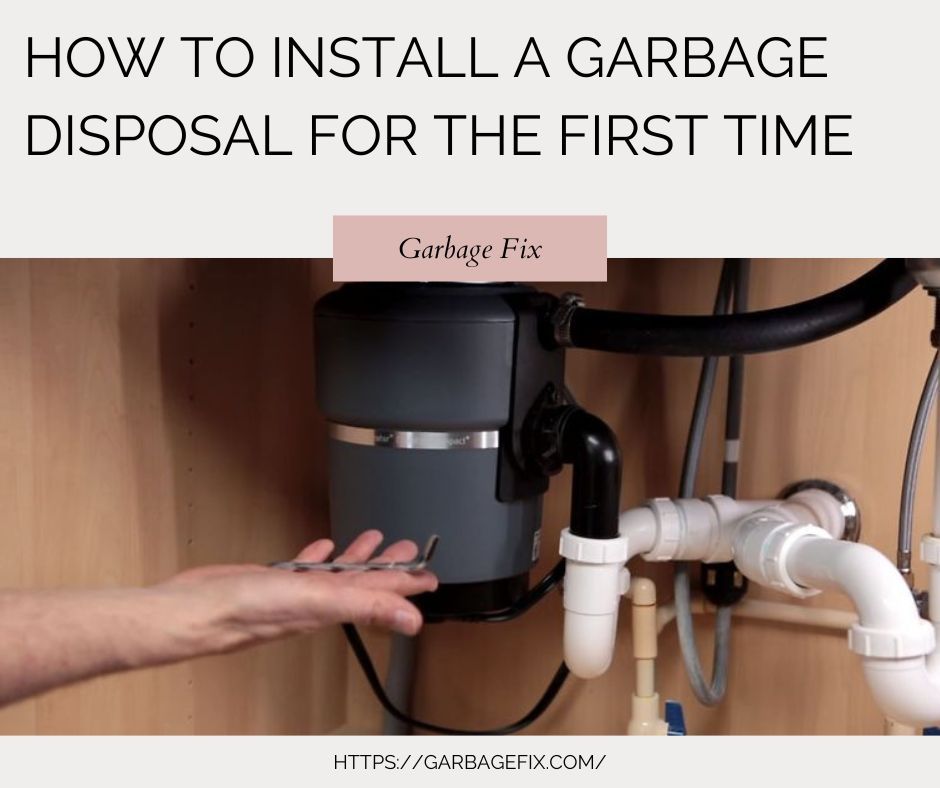
Place the unit on top of the mounting ring, bringing the outlet face to face with the drainpipe connection. Make it tight enough to make the unit stay in place.
4. Connect with the P-Trap
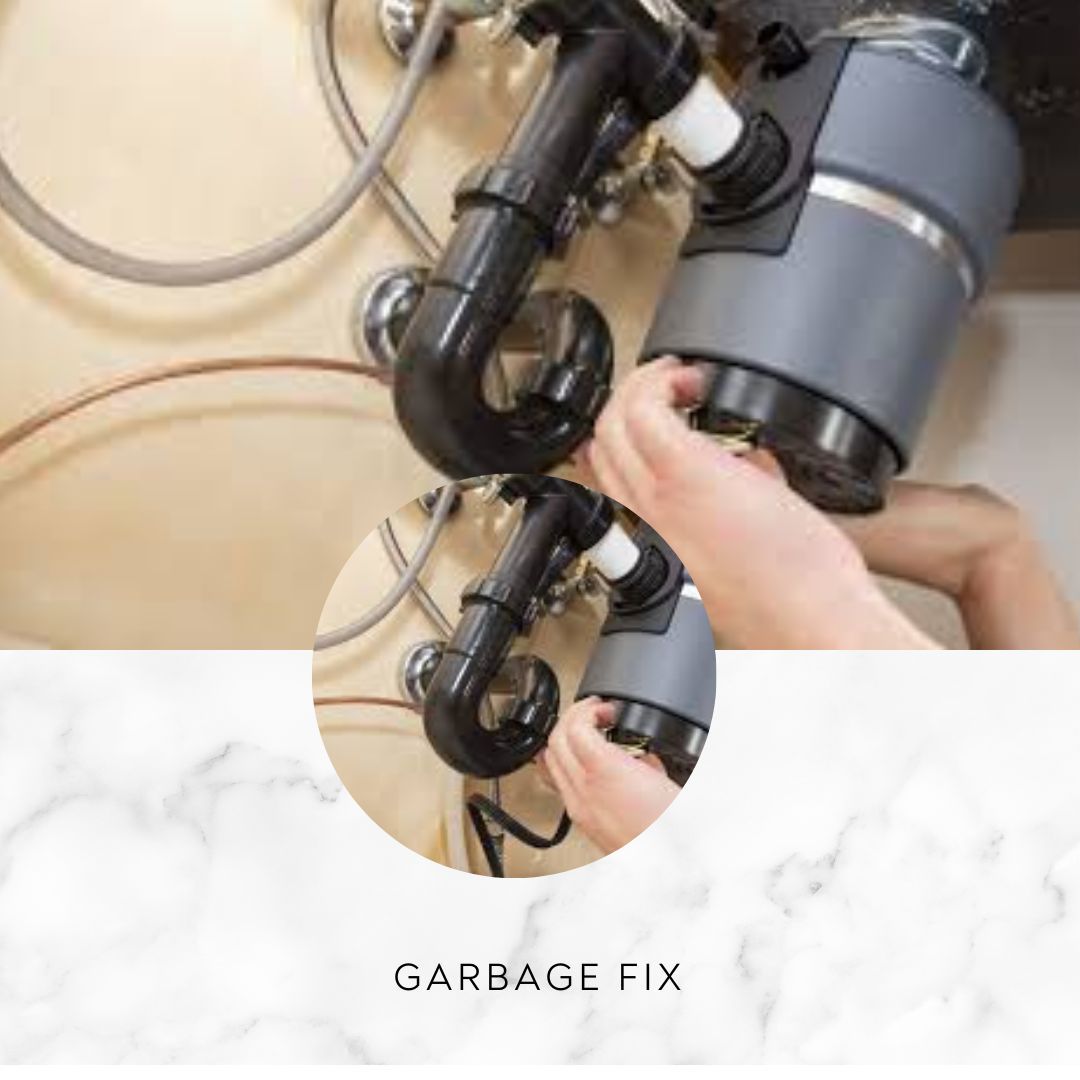
Now measure the length of the discharge pipe and cut it correctly using a hacksaw. Now attach it back to the outlet of the garbage disposal and also attach the dishwasher’s discharge tube as well.
5. Check the disposal
Once the installation is completed, it is now time to check if the disposal is connected correctly. Turn the power supply on, run some water in the sink, and switch on the unit to check if it is working or not. Check for any leaks under the sink as well.
Once all this is determined, run some food through the disposal to check if it is disposing of waste properly or not.
Dishwasher Connection: Optional
Many garbage disposal units also have an option to connect the dishwasher to the unit as well. Water can be drained via the disposal unit using this.
If your dishwasher has such an option, you can install a dishwasher using the following steps:
- The disposal chamber’s top should have the inlet for dishwasher. Loosen the plug using a screwdriver and hammer.
- Now the plug can be removed from the disposal unit.
The various benefits provided by the garbage disposal unit has made it a common item in most homes now. It improves one’s quality of life and provides a better sanitation facility.
The best part to have this unit in your kitchen is that its installation is hassle-free and quick, and can be done without any plumber or serviceman.
It is advised that you start the installation procedure early in the day so that in case of any issue, you have a margin to visit the plumbing or hardware store for tools and supplies needed.
Always ensure that all the required items are present handy with you before starting.
Even if you have installed the unit before, the instruction written in the manual must be read thoroughly to know exactly how to install a garbage disposal for the first time.
The process for some models can be different from others. If you are following all the instructions mentioned in the manual step-wise, your garbage disposal unit will be installed and running in your kitchen!


