You would want to remove a garbage disposal from your kitchen for many reasons.
Old drain lines are problematic and one of the most common reasons to take apart garbage disposal and instead start using a basket strainer.
When you have old drain lines, even small food bits can stick around in them and cause build-up, which causes kitchen stoppages.
If you can remember to dispose of kitchen scraps and are done with the frequent kitchen sink drain stoppages, you can remove the garbage disposal. We will provide you a step by step guide to how to take apart garbage disposal.
Tools and Materials required.
- Flat screwdriver
- Channel-type pliers
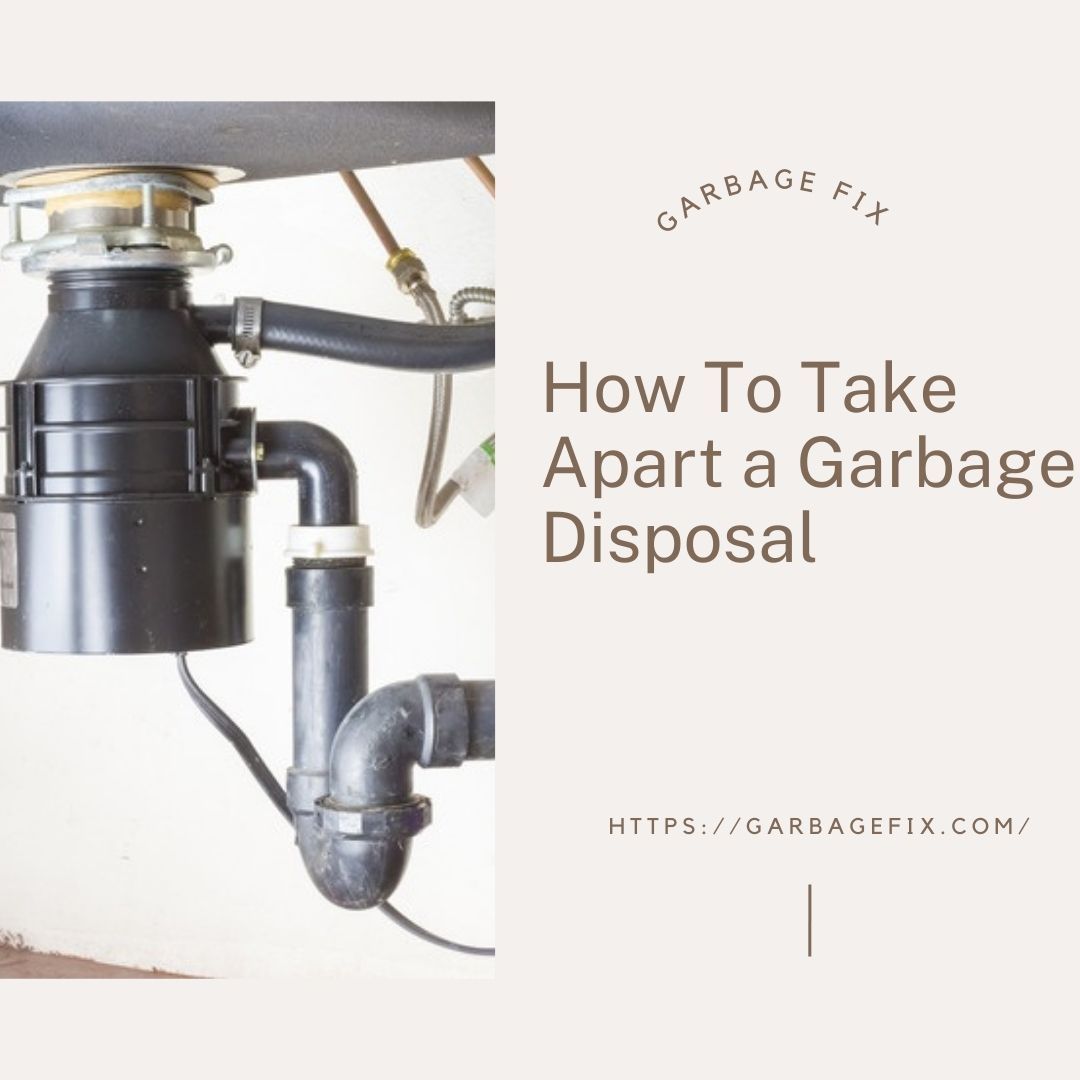
Detach the Garbage Disposal
To take apart the garbage disposal, start by unplugging and then disconnecting the disposal. Unplug the garbage disposal from the wall firstly.
Now you need to remove the drain trap connecting the garbage disposal with the drain pipe. Place an empty container beneath the trap, so you can get any water that drains from the pipes.
Using tong or pliers, take apart the two trap nuts and pull the trap pipe.
The continuous waste should be removed by pulling out the pipe and removing the nuts using pliers.
Cut the power supply
Shut the circuit breaker’s power supply from either the circuit breaker or the electrical service panel directly.
Flip off the switch, which controls the electricity being supplied to the garbage disposal on the circuit breaker.
Reconfirm that there I no power being provided to the disposal by attempting to turn it on before you proceed further.
The garbage disposer should be removed from the wall. If the unit is connected by hardwires in your home, then the wires should also be disconnected.
In this case, you need to use a screwdriver to remove the plate, which covers the wire connections at the disposal. Now disconnect the exposed wires and remove the plate, which includes the junction box placed on the wall.

Untwist the caps of wires which secure the disposal wires coming to your home and set them on the side.
Twist these wire caps on the wires exposed in the junction box, and put these wires back in the junction box to reattach into the junction box plate.
A voltage tester to make sure that there is no voltage present already before you put the wires back in the junction box.
Disconnecting the dishwasher
If you have a dishwasher in your kitchen as well, it will most likely be connected to the disposal unit as well.
Before you remove the garbage disposal unit, you will have to disconnect the drain line of the dishwasher as well. Use pliers for this step and remove the dishwasher tube from the garbage disposal unit.
Take apart garbage disposal
Use a flat screwdriver, insert it in the lower mounting ring and turn it around ¼ anticlockwise to unlock/unscrew it.
The disposer will now come out straight down, so you should be ready to catch it.
You are left with the mounting assembly. To remove this, loosen all three screws first and then use a flat screwdriver to bring the snap ring out of its position.
The remaining mounting assembly shall come out quickly now, and the top piece can be pulled out from its sink’s top side.
A garbage disposal can be installed, or you may continue following these instructions to install a basket strainer.
Installing the basket strainer
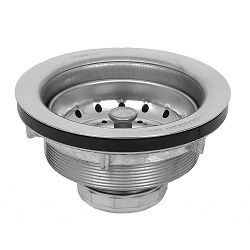
There are a variety of basket filters available to choose from. There are different instructions for installing each one, so you must follow the one mentioned for yours.
Make sure that you place a ring of putty around the sink’s strainer before you insert it in the sink’s opening.
Now first place the rubber washer, then the mounting cup before you place the mounting nut. Tighten this nut until it is firm, and remove any excess putty from the sink’s top.
Attach the dishwasher and drain pipe
The connection of basket strainer and drain is made using a flanged tailpiece. If you also have a dishwasher, a flanged branch tailpiece shall be used as it has an additional inlet for the drain line of the dishwasher as well.
The flanged tailpiece can be screwed directly in the basket strainer. Ensure that the tailpiece washer is used, which comes with the basket strainer.
It is also recommended that you add a pinch of putty on the nut, which is between the basket strainer and tailpiece washer.
Now use pliers to reinstall the dishwasher tube in the branch tailpiece.
Mount the continuous waste pipe
This pipe will first have to be cut in a specific size. To measure that, place one end of the tube in place and mark the position where it shall be reduced from.
A mid downward slope should be present in this pipe, starting from the trap to the drain. This must be kept in mind when measuring and cutting the pipe.
Once the continuous waste pipe has fit appropriately, both its nuts should be tightened, ensuring the slip joint washers face the correct direction. These washers should be pointed down towards the threads.
Installing the trap
Now install the trap and its arm. The pipe may have to be lengthened using an extension tailpiece to get it lined up correctly.
Cut your pipe so that it suits and tightens all the nuts, and ensure that the slip join washers face the correct direction. The only part which does not require a slip joint washer is the place where the trap arm and trap come together.
Tighten all the nuts with your hand and check that both sides of the sink are free of any leaks. To do this, fill the sink and drain it. If one of the nuts leaks, tighten it a bit tighter using a pair of pliers.
The above guide has provided a very comprehensive explanation as to how to take apart garbage disposal.
It is a straightforward project, and you can take it whenever needed, follow the steps described above, and you are good to go!